Super Easy Nail Steps for Beginners
List of Basic Nail Tools
Fake nails: These are essential for anyone learning to do nails at home. When practicing, you should work on fake nails instead of real ones because you’ll still make many mistakes at the beginning.
Nail polish, nail care and repair solutions, nail clippers, nail files, cuticle nippers, nail art brushes, gel dryer, and a chemical spray bottle are also mandatory.
These are the must-have essentials if you want to follow professional nail steps like those in nail salons. Depending on each nail style or design, you may need additional accessories — you can invest in them later if needed.
Basic Nail Steps at Home
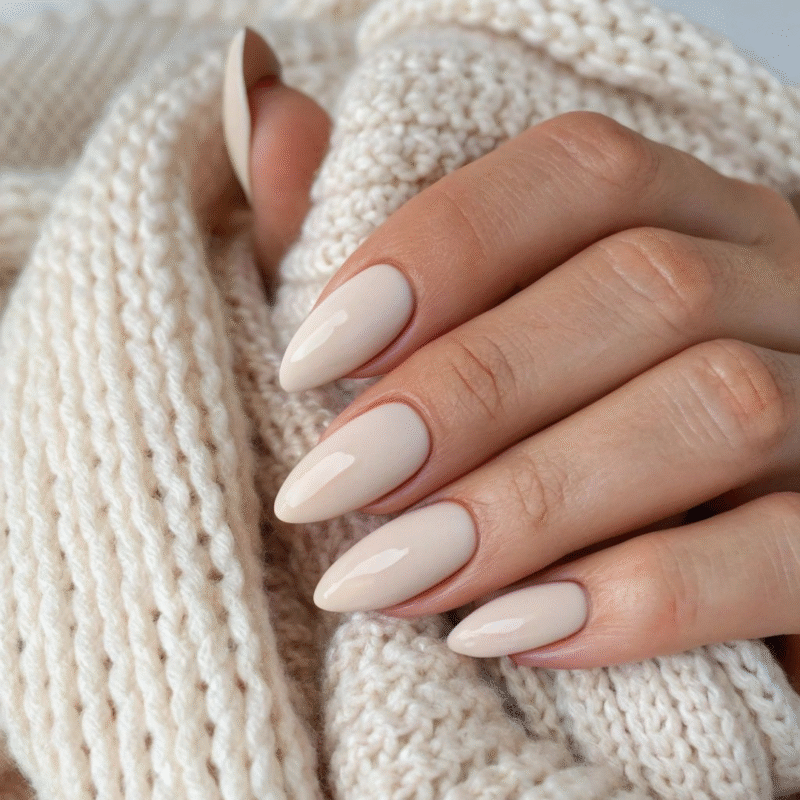
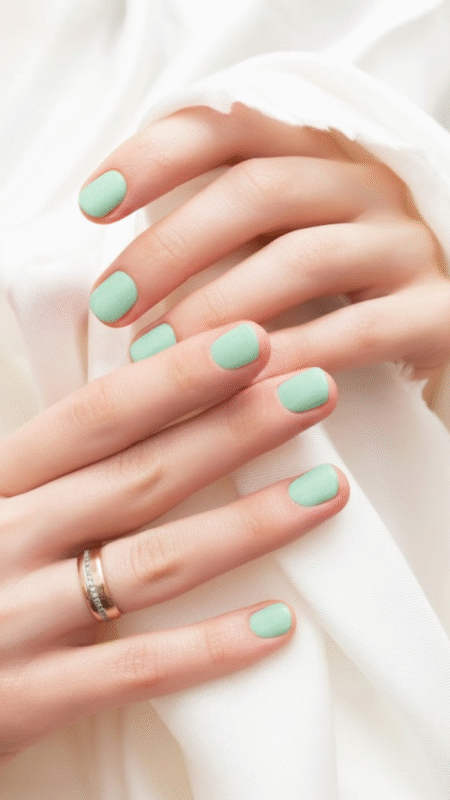
If it’s your first time doing nails at home, you should start with simple designs (like solid-color nails) before moving on to floral art or rhinestone nails. All nail designs follow these basic, essential steps:
Step 1: Trim your nails
Wash your hands with warm water. Use nail clippers to trim your nails evenly — avoid leaving some nails longer than others. Note: the longer the nails, the easier and prettier the shaping and polishing process will be.
Step 2: File the nails
Use a nail file to gently shape each nail evenly.
Step 3: Soak nails in warm water
After filing, clean the cuticles by soaking your hands in warm water for 1–2 minutes to soften cuticles and remove dirt.
Step 4: Apply base coat
Brush a thin layer of base coat onto each nail, then let it dry.
Step 5: Apply color polish
Choose a polish that suits your skin tone or your favorite shade, then apply it gently. Apply 2–3 coats for the most even and accurate color. Let it dry.
Step 6: Apply top coat
Once the nails are dry, apply a top coat to seal the color. This step helps the polish look shinier and last longer.
Things to Note When Doing Nails at Home
To get beautiful nails at home, keep these important tips in mind:
- Follow the proper nail process: trimming, filing, soaking, applying base coat, color, and top coat.
- Choose and combine colors properly, especially for floral or rhinestone designs.
- Always use a base coat and top coat to keep the color long-lasting and vibrant.
- Do not polish when your nails are wet — let them fully dry before touching anything.
- Do not use dried, clumpy, or overly runny nail polish.
Doing nails at home isn’t too difficult, but the results may not be as durable or long-lasting as getting them done at a salon. This is because at-home products often don’t have the same adhesion or color quality, and you don’t have LED or UV lamps for proper curing. That’s why going to a nail salon will give you prettier, more diverse, and longer-lasting nail designs.
Why Nails Look Better When Done at a Salon
Salon nails always look more polished and nicely done because their process is more professional:
They use high-quality, long-lasting nail polishes.
The color applies evenly without smudging or clumping.
They fully apply base and top coats to protect and nourish the nails and skin.
You can choose from many designs, including difficult styles like rhinestones and hand-drawn flowers.
Nail art won’t peel off even when doing chores like washing dishes or laundry.
Professional Salon Nail Steps:
Step 1: Consultation on nail shape and design.
Step 2: Nail cleaning (trimming, filing, soaking in warm water).
Step 3: Dehydrating and nourishing the nails.
Step 4: Applying base and color polish that matches your hand and chosen design.
Step 5: Creating nail art — flowers, rhinestones, or detailed designs.
Step 6: Applying top coat.
If you want beautiful, unique, trendy nails, it’s best to visit a salon. They guarantee high-quality results with vibrant, long-lasting colors.
If you want, I can also rewrite this into a shorter, more marketing-friendly version.